Thursday, December 27, 2012

New Mini Fridge/Kegerator

So I finally found a mini fridge on Craigslist for $75. It seemed to be the perfect size and style for me to convert into a kegerator. I contacted the guy and he said to me if you come get it today, you can have the beer and the fridge for $60. Needless to say, I went over to his house immediately after work.

After bringing the fridge home, I started emptying it. It had multiple bottles of liqueur in it that were half full so we threw them out. There was a bunch of Yinglings, a few Coors Light, a couple Bud Lights, a bottle of Sake, and about a 12 pack of PowerAde. I figure I only paid about $30 for the fridge, and about $30 for the stuff inside.

First thing I did is take out the door panel so I will have enough room to fit the five gallon corny keg. When I first started this project, I was hoping it would fit two corny kegs but it looks like it will only be one. That is fine with me. This is a photo of the door panel removed and the gasket screwed back on. I think I might have to purchase a piece of pexi-glass to add in to make up the thickness of the door panel.

The last thing I did (and most frightening) was having to take the freezer section and pull it down to open up the top part of the fridge. I was very nervous about this, due to the fact that if the tube that carries the freon breaks, we have a worthless box. I was able to get it bent down without it breaking or kinking. I was very happy.

After watching the temps tonight, it looks like it will stay at about 38 degrees just fine. I think I will purchase a temp controller to help keep my temps perfect though.

Sunday, December 16, 2012

Beersmith University

I meant to upload this photo when I originally started this brew, but forgot. I am still getting used to Beersmith and all of it's glory. It seems to be a lot more technical than I am ready for but I figure the more I play around with it, the more I will learn. The only thing that confuses me is a lot of times the original and final gravity readings do not add up with what the kit's paperwork says. I don't know if I don't have my equipment set up correctly or what, but I will keep tweaking it until I get it right.

On a different note, checked the beer again today. Seems like fermentation is just about done. It's been fermenting for a week now. I usually try and leave my beers in the fermenter for at least three weeks. This helps the beer clarify and look pretty. Then I will go straight to bottling and let it condition for at least six weeks for this beer. Other beers I will bottle condition for three weeks, then put in the fridge for a week or two then drink. This holiday ale has a lot of adjuncts that need to simmer before we drink them. If we wait only three weeks the beer will have an overwhelming cinnamon, mace, nutmeg flavor.

I am still on the hunt for a mini fridge that I can convert into a kegerator. It seems like every time I contact someone, they just sold it. I never knew Craigslist was such a poppin' place. I guess I need to be quick about it.

Wednesday, December 12, 2012

Still Going Strong Under a Blue Moon

Checked on the fermentation today. Seems to be right on schedule. First couple days were very vigorous due to the yeast fuel, but it has started to slow. I am trying to keep temps between 62-67 degrees for perfect ale fermentation.

On a different note, I was browsing around Craigslist for a mini-fridge (I hate bottling and want to start kegging) that I can make into a kegerator and found a guy that was selling one that he was using for the same kind of set up. I contacted him but he said someone else was in front of me, but if they fell through he would let me know. PLEASE FALL THROUGH =) The price is perfect and I'm not sure how much longer I can stand bottling. Also, isn't the best beer right off the tap?!?

I have also fell in love with Blue Moon's winter variety pack. There is not one beer in there that I do not like. I am trying to get Sarah to enjoy the other ones other than the standard Belgian Wheat Blue Moon beer, she's having a hard time enjoying it. I think she is just afraid of the color. Most of them are a dark amber as most "winter" beers are going to be darker.

Sunday, December 9, 2012

Fermentation Starts!

15 hours later we have fermentation! The air lock is bubbling away. The air temp in the bag fluctuates between 62-65 degrees. The beer temp is holding steady at 70 degrees.


(For all the photos from this brew day Click here)

Saturday, December 8, 2012

Holiday Ale Homebrew

So it's been a while since we have made any kind of update to our blog. We are still working on hard on cooking new recipes and finding things we like to post. I (Adam) have started brewing beer again and I've decided to post my experiences here on the blog.
I know it is late in the season, but I decided to brew a holiday ale mini mash (kit came from Austin Homebrew). It should be ready by February of 2013. I guess it will make it a Valentine's Day brew. That's a holiday right?
This kit comes with a spice packet that has nutmeg, cinnamon, and mace in it. I also add a "whrilfloc" tablet that helps with clarification and a pill of yeast fuel that helps in a quicker more vigorous fermentation.
The grains that are included are 24ozs of 2-Row, 16ozs of Crystal 40L Malt, 8ozs of white wheat, and 4ozs chocolate malt.
As for hops we got 1oz each of Saaz and Cluster.
I also used five pounds of extra pale LME (Liquid Malt Extract). I like LME more than DME (Dry Malt Extract) due to the fact that as long as I'm careful, it dissolves faster and more efficiently.
As for yeast, the kit comes with WLP001 California Ale yeast.
After adding two gallons of water, I needed to bring the temp up to 160 degrees then lower it to approximately 155 degrees so I could soak my grains. I get mostly color from these grains with some sugars for the yeast to eat. After the temp is at approximately 155 degrees, the grains have to steep for 45 minutes (kind of like steeping a tea bag).
While waiting the 45 minutes I drank a pint of hefeweizen from Beer Hound Brewery. It was a nice hefe to have on a abnormally warm winter day.
While bringing my sparge water up to temp, I made some hamburgers to grill.
1lb ground beef
1/2 small onion chopped
1/2 jalepeno chopped
1 clove garlic minced
1/2 cup cheddar cheese
1/2 egg
1/2-1 cup bread crumbs
Makes two to three burgers depending on size.

After sparge water is up to temp, I drained the grains over the wort and poured the sparge water over the grains to get all the sugars out being very careful to not squeeze the grains. Drip dry only.
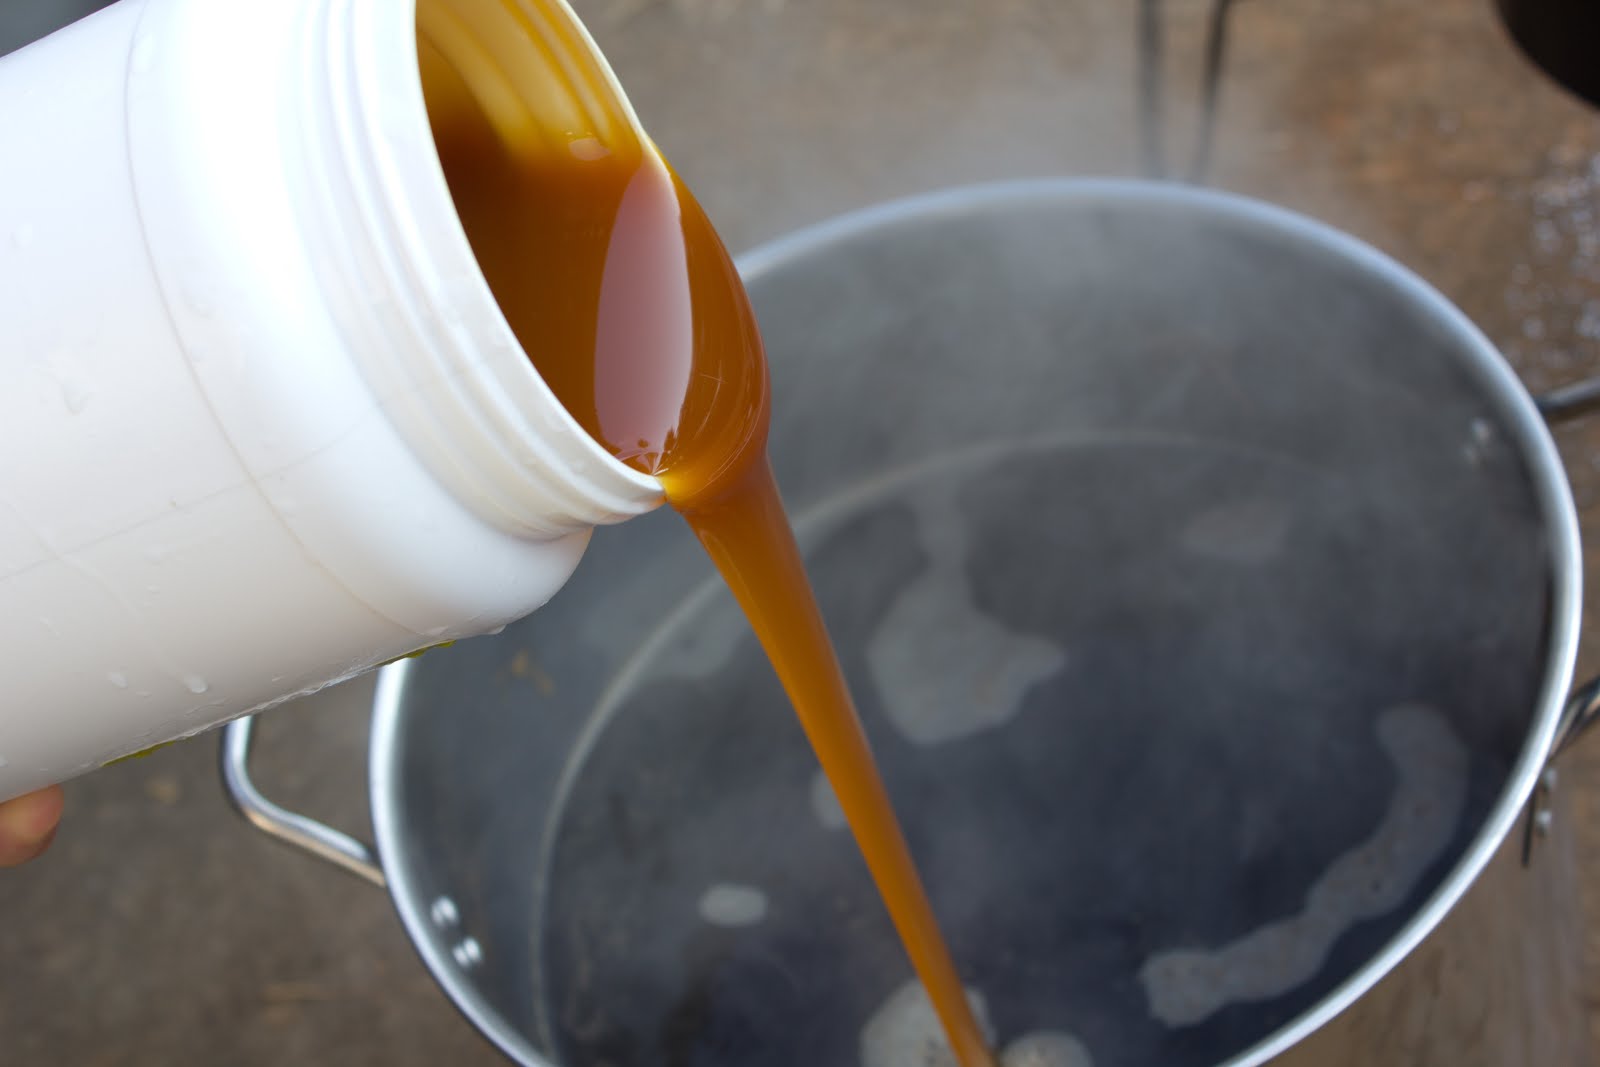
After the wort came to a boil, I took it off the heat and added the LME. One of the biggest things I try to be sure of is to keep stirring all the time. All the sugars mixed with the heat can eaisly burn to the bottom of the kettle. This will result in off flavors in your final product.
After the LME was added and wort came to a boil, it was time for the first addition of the Cluster hops. After hops are added, the wort will have what's called a "hot break". I had to be very careful to not over boil the wort and make a mess on the patio. I don't think Sarah would be very happy if that were to happen. This addition of Cluster hops is in the boil for the whole 60 minutes.
With fifteen minutes left in the boil I added my whirlflock tablet and spice pack. Five minutes later I added my wort chiller in the boil so it would sanitize it.
With five minutes left in the boil, the last addition of hops was added. 1oz of Saaz hops.
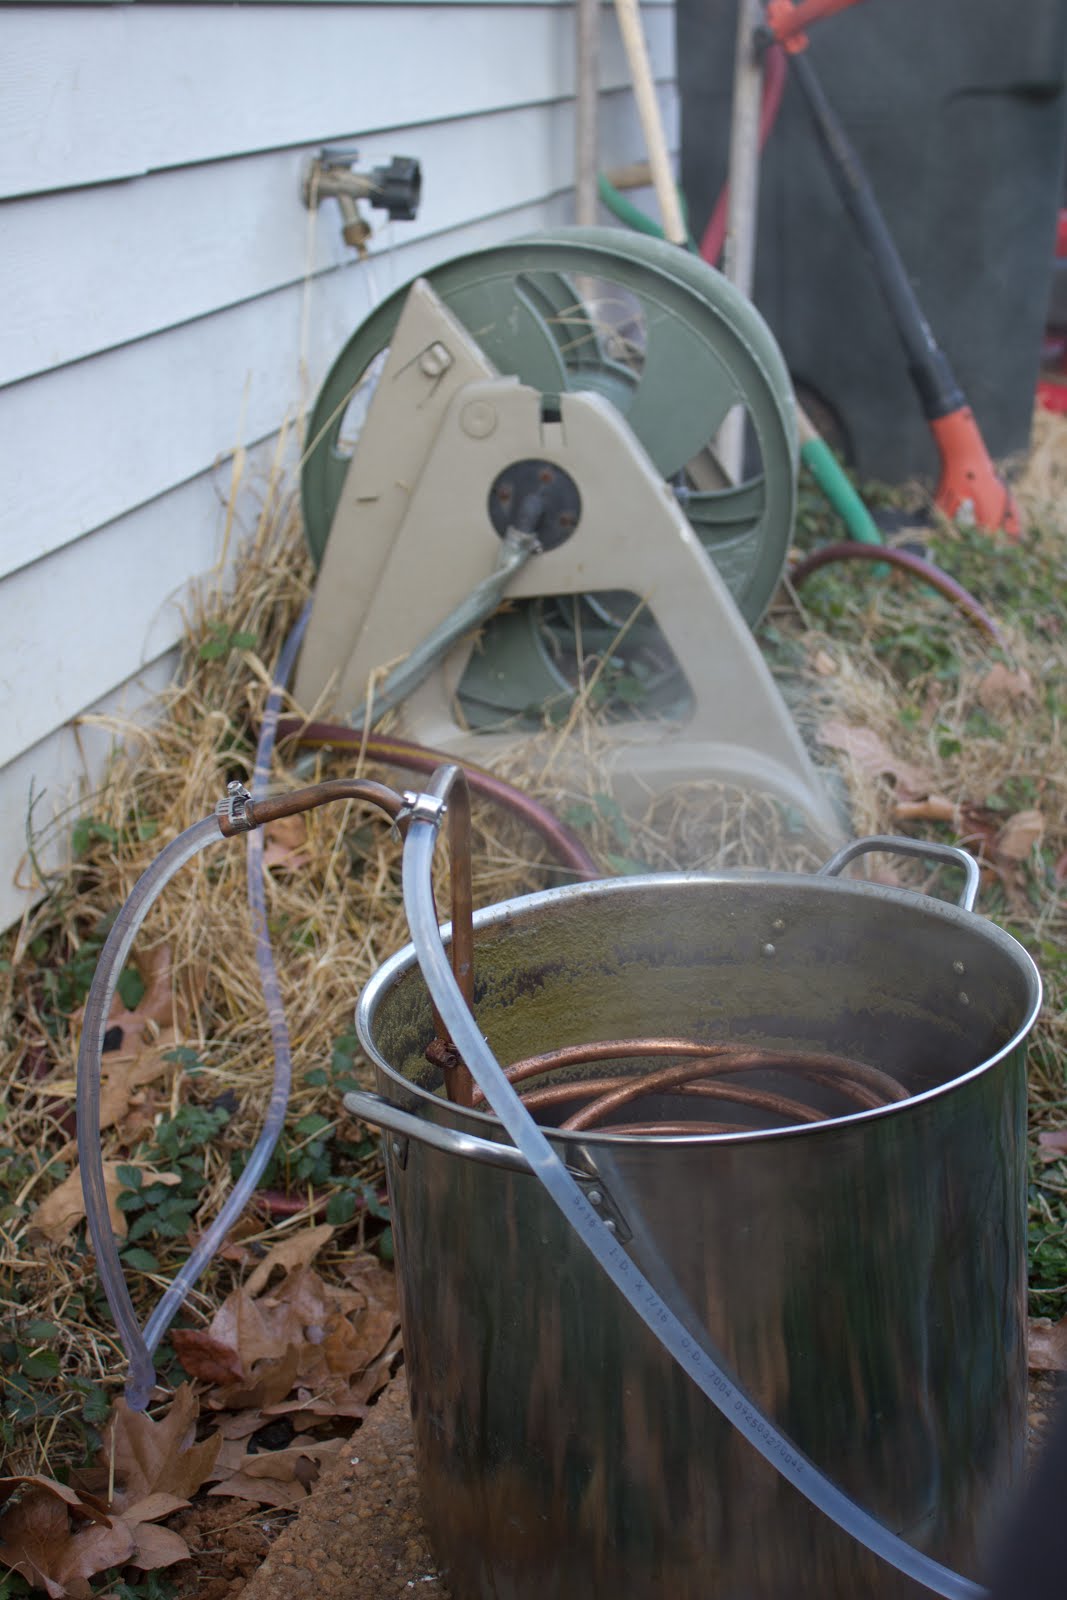
After the 60 minute boil is done, I hook my wort chiller up to the outside faucet. What this does is run cold water through the wort chiller to cool the wort quickly. It takes about 25 minutes to get the wort where it needs to be, between 75-80 degrees.
After the wort is cooled, it came out to be a smudge above 2 gallons. I needed to add water to bring the total wort up to 5 1/4 gallons.
After adding the water, I took my hydrometer reading and got a reading of about 1.050. It was supposed to be 1.052 but that is close. I may have added a little bit too much water to dilute the wort. The reason to get hydrometer readings is to figure out the alcohol content of your beer. You take a "OG" or original gravity reading and a "FG" or final gravity reading subtract them from each other and then multiply that number by 131 and that is your alcohol content.

This is the beer after aerating it for a few minutes and adding yeast.
Here is the final beer in the fermentation bag. I use this bag to help control fermentation temps. This beer should ferment in the primary fermenter for about three weeks, then I will bottle. I will let it bottle condition for about 6 weeks to let the flavors of the cinnamon, nutmeg, and mace mellow out. Usually bottle conditioning only takes about two to three weeks. I will update with FG and dates when ready to bottle.

(For all the photos from this brew day Click here)